
Reviving a Classic Car After Long-Term Storage

There is a quiet romance to a classic car laid up under a dust sheet, waiting for the right day. But that day should not begin with a turn of the key. Old fuel, stale oil, and dried-out seals can turn a happy revival into an expensive rebuild. The golden rule is simple: prepare the car methodically before you ask the engine to fire. What follows is the sequence I have used for decades with British sports cars, saloons, and the occasional stubborn pre-war relic.
Drain the Old Fuel and Refresh the System
Petrol does not age gracefully. Left for more than a few months, it loses its volatile components and turns to a varnish-like substance that clogs carburettor jets, fuel filters, and injectors. Diesel is worse for attracting water and microbial growth. So before anything else, disconnect the battery and drain the tank. On many classics there is a drain plug; if not, siphon through the filler neck. Take the old fuel to your local council recycling centre — never pour it down a drain.
While the tank is empty, inspect the fuel lines for cracks and the tank for rust. Replace the fuel filter as a matter of course. If the car has a mechanical fuel pump, check the diaphragm; if it is electric, listen for a prime. For carburettor cars, removing the float chamber lid and cleaning out any residue is a small job that saves a lot of grief. Do not crank the engine with old fuel still in the lines. You will simply push gum into the carburettor.
Change the Oil Before You Turn the Engine
Old engine oil contains acids, moisture, and metallic particles. Even if it looks clean on the dipstick, it has been sitting in the sump, quietly attacking bearings and seals. Drain it warm if you can — but if the car has not run, just drain it cold and let it drip overnight. Replace the oil filter and fill with a good-quality mineral or semi-synthetic oil suited to the engine's age. For flat-tappet camshafts, a high-zinc oil or additive is wise.
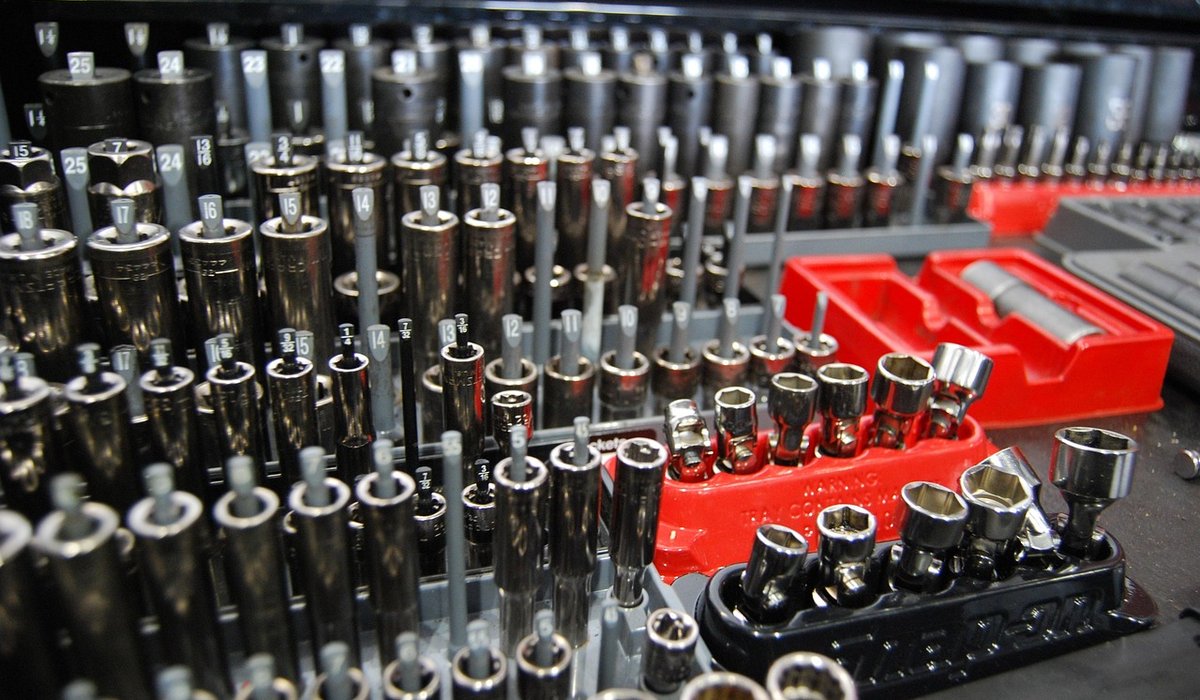
Next, remove the spark plugs. Squirt a small amount of engine oil or upper-cylinder lubricant into each cylinder. Then turn the engine by hand — not with the starter. Use a socket on the crankshaft pulley bolt, or a spanner on the alternator or generator nut if access is easier. Never use the fan blades. Turn it two full revolutions, slowly. You are listening for a smooth, even resistance. If it locks solid, stop. Do not force it. A stuck piston or valve can turn a simple job into a cylinder head removal.
Inspect the Brakes, Tyres, and Chassis
Brakes are the most neglected system on a stored classic. Hydraulic fluid absorbs water over time, corroding callipers and wheel cylinders from the inside. Check the fluid level and colour — dark or black fluid means a full flush is overdue. Look under the car for damp patches on the back of the wheels. Seized callipers are common; a car that rolls easily in neutral may still have dragging brakes. Handbrake cables can rust solid, and rubber flexi-hoses can perish.
- Tyres: Check for flat spots, cracks, and sidewall damage. Any tyre over ten years old should be replaced regardless of tread. Inflate to the correct pressure before moving the car.
- Chassis: Look for rust around jacking points, subframe mounts, and suspension turrets. A gentle tap with a small hammer will reveal soft metal.
- Steering and suspension: Check for play in track rod ends, ball joints, and wheel bearings. Grease any nipples.
Electrical and Cooling Checks
Batteries dislike sitting. Even a good one will self-discharge over months, and a deep discharge can kill it permanently. Charge it slowly, then have it load-tested. Clean the terminals and check the earth strap — poor earthing causes all manner of strange faults. Inspect the distributor cap, rotor arm, and plug leads for cracks or green corrosion. Points and condenser, if fitted, should be replaced as a matter of course.
The cooling system deserves attention too. Check the coolant level and strength. Old coolant can turn acidic and eat the radiator and heater matrix. Look for perished hoses, a weeping water pump, and a stuck thermostat. If the car has an electric fan, test it by bridging the switch. Never start an engine with a known coolant leak. You will overheat it in minutes.
First Start and the Maiden Drive
With fresh fuel, oil, and a charged battery, you are nearly ready. But first, crank the engine with the spark plugs still removed. This builds oil pressure without loading the bearings. Watch the oil light — it should go out, or the gauge should show pressure, within a few seconds. If not, stop and investigate. Once pressure is confirmed, refit the plugs, connect the ignition, and check the static timing.
Start the engine and let it idle. Listen for tappet noise, exhaust blows, or a rough miss. Watch for fuel leaks, oil leaks, and coolant drips. Let it warm up to normal temperature, then switch off. Now the real test: a very short drive at low speed. Test the brakes gently in your driveway or a quiet lane. If they pull, grab, or feel spongy, stop and investigate. Do not venture onto a main road until you trust the brakes.
The First Few Miles and Beyond
For the first fifty miles, treat the car gently. Vary the revs, avoid full throttle, and keep journeys short. Check the oil and coolant levels after every run. Look for fresh leaks. After a hundred miles, change the oil and filter again — this flushes out the last of the old contaminants. Re-torque the wheel nuts and check the tyre pressures. If the car has been off the road for years, a fresh MOT (where applicable) and a thorough inspection by a classic-friendly garage are sensible.
Reviving a stored classic is not a race. It is a conversation between you and the machine. Take your time, replace what is tired, and the reward is a car that starts willingly and drives as its makers intended. There are few better feelings than easing a long-silent engine back into life — and knowing you did it properly.

Joeby Ragpa
This template is so awesome. I didn’t expect so many features inside. E-commerce pages are very useful, you can launch your online store in few seconds. I will rate 5 stars.
ReplyAlexander Samokhin
This template is so awesome. I didn’t expect so many features inside. E-commerce pages are very useful, you can launch your online store in few seconds. I will rate 5 stars.
ReplyChris Root
This template is so awesome. I didn’t expect so many features inside. E-commerce pages are very useful, you can launch your online store in few seconds. I will rate 5 stars.
Reply