
How to Assess Rust Before Buying a Project Car

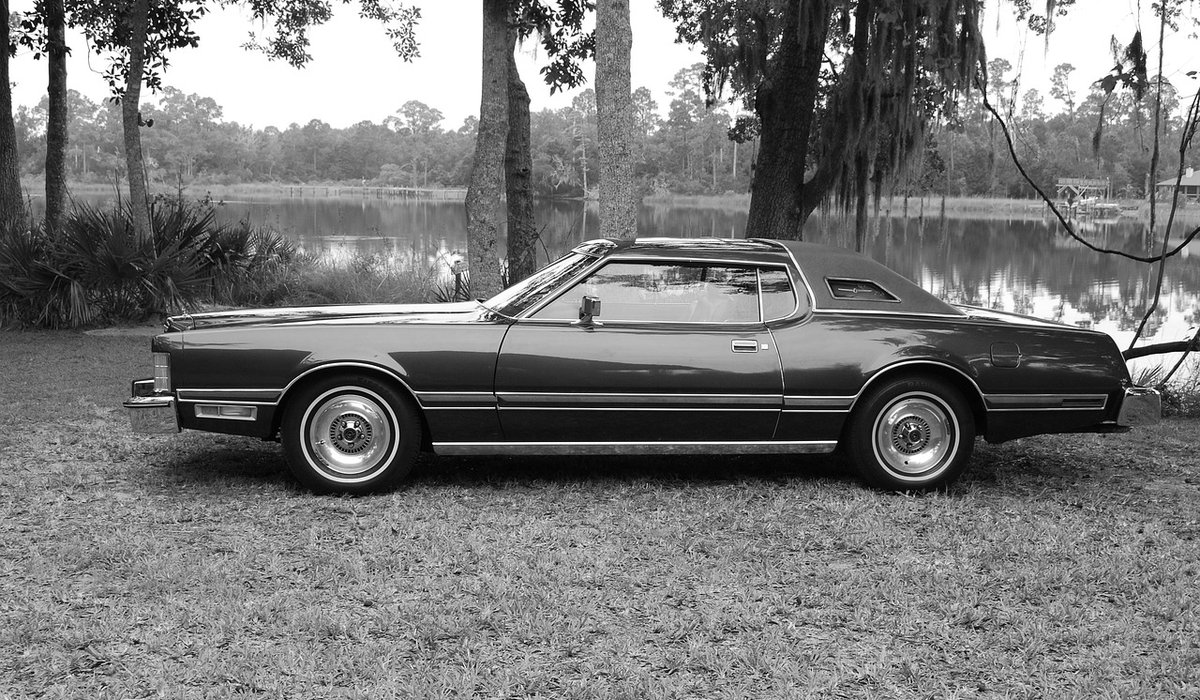
Rust Is the Deal-Breaker
Mechanical faults rarely sink a classic car project. An engine can be rebuilt, a gearbox reconditioned, brakes and suspension refreshed with a few weekends and a sensible budget. Corrosion is different. Rust attacks the structure that holds everything else together, and repairing it properly means cutting, welding, shaping and painting — often with the interior stripped out and the car up on stands for months. On a monocoque shell, rot in the wrong place can turn an affordable project into a trailer-load of scrap.
That is why you inspect the body first and the oily bits second. A tired engine with a sound shell is a bargain. A rebuilt engine in a rotten shell is a money pit. Take your time, arrive in daylight, and never view a car in the rain or in a dim garage, both of which hide more sins than any seller could manage deliberately.
Pack the Right Kit
You cannot assess rust with your eyes alone. Go equipped, and don't feel awkward about using any of it.
- A small magnet — wrapped in a thin cloth or taped to avoid scratching paint. It should grip steel firmly everywhere. A dull, weak or absent pull means filler, fibreglass or a replacement patch over rot.
- A bright torch, ideally an LED one with a narrow beam. You will be peering into cavities, up behind sills and under the dashboard.
- A small screwdriver — for gentle probing, never for stabbing. Tapping panels and pressing firmly on suspect seams tells you whether metal is solid or a crisp that crumbles.
- A mirror on a stick and, if you can, a cheap USB endoscope for the inside of box sections.
- A rag, gloves and a notebook, plus a phone for photographs of anything you want to think about later.
Add a magnet to the boot of your everyday car and leave it there. It costs nothing and it will save you thousands over a lifetime of looking at old cars.
Start with the Sills
Sills are the most commonly rotten and most structurally important area on a classic saloon or coupe. They sit low, they collect mud and water, and they are usually the first thing to go. Look along the full length of each sill from the front wheel arch to the rear, crouching to sight down the line. A wavy, rippled or bulging finish is a strong hint of filler over corrosion.
Run your magnet along the sill, then tap gently with the screwdriver handle. It should ring with a solid, metallic note; a flat, dull thud suggests filler or a bodged repair. Have a good look at the jacking points, which are often welded onto or closely tied to the sill. If the factory jack has been used on a rusty sill, the metal will fold, and there may be creases, dents or patches around them.
Finally, get your torch up into the wheel arch and look at the inner sill and the floor-to-sill seam from the inside. If you can see daylight, blistered paint or frilly edges where the two panels meet, budget for substantial welding.
Floors, Chassis Legs and Mounting Points
Ask to lift the carpets, or at least peel back the sill trim and any loose matting. Lift the boot floor covering too. Damp underlay is a warning in itself, so pay attention to any lingering musty smell. Wet carpet means water is getting in somewhere, and it will be finding a path to bare metal.
Look for holes, pimples of rust pushing through underseal, and neat rectangular patches welded in where the floorpan should be smooth. Pay attention to the chassis legs and outriggers if the car has them, and to the area around the seat belt mountings, seat runners and handbrake cable guides. All are MoT-relevant and all are awkward to repair.
On a car with a separate chassis, tap along the rails with the screwdriver handle. A dead, papery thud or a screwdriver that sinks in means it is time to walk away unless you enjoy fabricating box sections.
Wheel Arches and Panel Edges
Wheel arches gather mud and hold moisture, so inspect all four, including the inner arches and the lips. On many classics the rear arch is double-skinned; rot often starts on the inner lip and eats outwards, so a tidy outer arch proves very little. Push your fingers inside the lip and feel for roughness, flaking paint and soft, crumbling metal.
Use the magnet on the arch lips, the base of the wings, the door bottoms, the boot lid edge, the bonnet front edge and the headlamp surrounds. Check the valances and the panel below the grille, which often corrode from stone chips on the inside. Behind the front wings, on cars where they unbolt, inspect the structure they bolt to — that hidden area is frequently far worse than the wing itself.
Screen Surrounds, Drains and the Final Verdict
Windscreen and rear screen apertures rot from the inside out, so lift the rubber seal gently and look at the metal beneath. Check the drip rails, sunroof drains and the plenum chamber below the windscreen, where leaves gather and water sits. A rotten screen surround demands glass out, and that changes the scale of the job entirely.
Before committing, photograph everything and tot up what you have found. A few small holes in a sill are routine for a welder; a rusty floor, inner sills, arches and screen surround together means a full restoration. Compare the total repair cost against buying a better example, because a slightly dearer solid car is almost always the cheaper project in the long run. If the seller discourages your magnet and torch, thank them politely and keep looking — there is always another car.

Joeby Ragpa
This template is so awesome. I didn’t expect so many features inside. E-commerce pages are very useful, you can launch your online store in few seconds. I will rate 5 stars.
ReplyAlexander Samokhin
This template is so awesome. I didn’t expect so many features inside. E-commerce pages are very useful, you can launch your online store in few seconds. I will rate 5 stars.
ReplyChris Root
This template is so awesome. I didn’t expect so many features inside. E-commerce pages are very useful, you can launch your online store in few seconds. I will rate 5 stars.
Reply